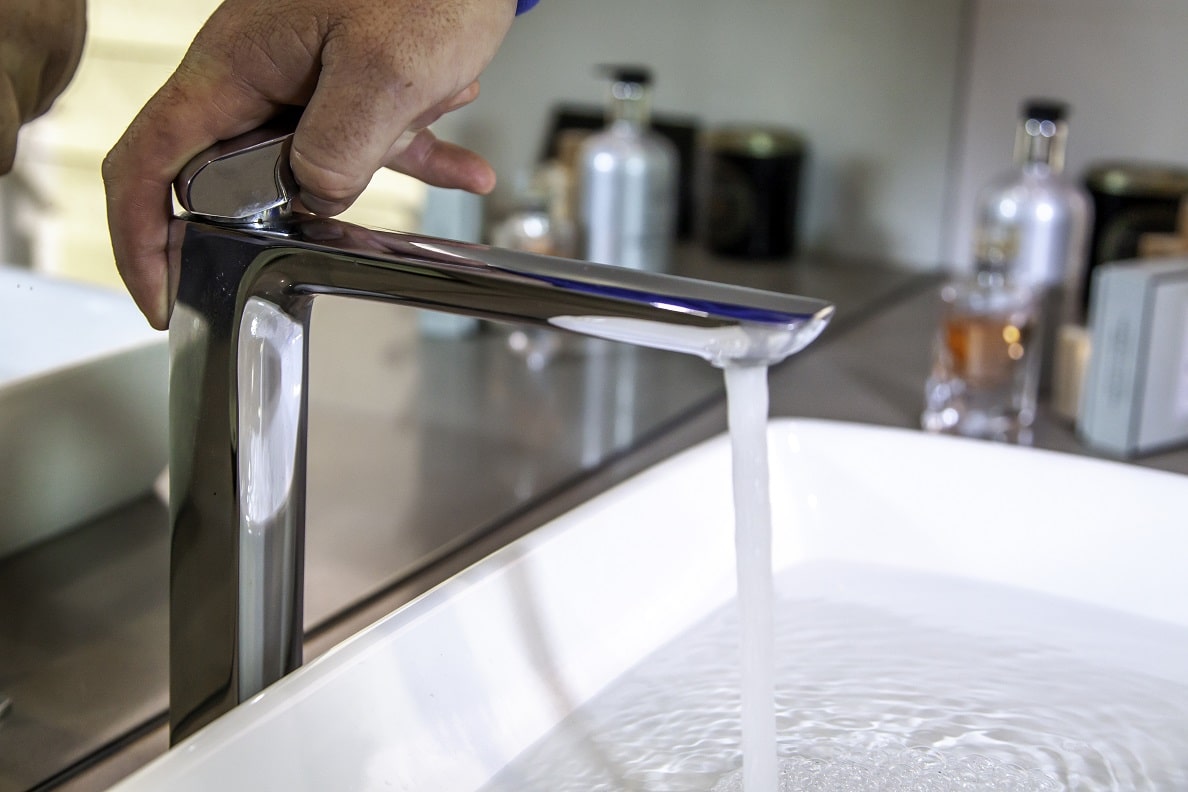
The drip, drip, dripping of a leaking tap is enough to drive anyone crazy. But beyond the noise each drop is quietly wasting water, increasing your bills, and signalling a problem that, if ignored, could turn into a much bigger headache.
The good news is that fixing it is much simpler than you think. Reseating your tap can stop the drip at its source by smoothing the seat where your tap washer rests. Most taps can handle two to three reseatings before the seat wears out, making this a smart, cost-effective alternative to a full replacement.
Leaky taps often stem from worn seals, damaged valves, or stubborn mineral buildup. In this comprehensive guide, we’ll take you step by step through the tap reseating process, showing you how to identify the problem, the tools you’ll need, proper repair techniques, and when it’s time to call a professional.
What Does “Reseating a Tap” Mean?
If you’ve ever wondered what tap reseating actually involves, it’s simpler than it sounds. Over time, the valve seat inside your tap (the surface where the washer sits) can develop scratches, pits, or other imperfections. These tiny flaws prevent the washer from creating a watertight seal, which is what causes drips and leaks.
Reseating a tap restores the valve seat to a smooth, flat surface, much like refinishing a scratched table. During reseating, a cutting tool carefully removes the damaged portion of the valve seat, creating a fresh, smooth surface. The washer then presses perfectly against this refinished seat, and water pressure helps maintain a tight seal.
Components of a Tap That Affect Seating
For a tap to function properly, several components must work together:
· Valve Seat: The metal surface inside the tap body that contacts the washer. Imperfections here are a common cause of leaks.
· Washer: A rubber or silicone disk that stops water flow by pressing against the seat.
· Spindle: The threaded rod that moves the washer up and down when you turn the tap.
· O-rings: Circular seals that prevent water from leaking around moving parts.
Benefits of Reseating Taps
· Saves Money: Costs less than replacing the entire tap.
· Extends Tap Life: Restores function and delays the need for a full replacement.
· Preserves Style: Keeps your bathroom or kitchen looking consistent and intact.
· Stops Water Waste: Eliminates drips at the source, saving water immediately.
· Quick and Convenient: Often faster than a full replacement, with minimal disruption.
· Avoids Fixture Issues: No mismatched designs or compatibility headaches.
Signs That Your Tap Needs Reseating
1. Dripping or Constant Leakage: Persistent drips, even after replacing the washer, often point to a damaged valve seat. A slow drip can waste up to 30 liters of water per day. Left unchecked, that’s enough to fill a small swimming pool over a year! Corrosion or uneven surfaces on the valve seat prevent the washer from forming a proper seal, allowing water to escape even when the handle is fully closed.
2. Unusual Water Pressure or Irregular Flow: Changes in water pressure, such as weak or inconsistent flow, can indicate problems with the tap seat. Appliances may take longer to fill, and you might notice leaks or bubbling from the tap nozzle. Low-pressure taps can also emit whistling or gurgling sounds as water struggles to flow past a compromised valve.
3. Noisy Taps or “Squeaky” Operation: Squealing, whining, or screeching sounds often signal a washer or stem that isn’t working correctly. Vibrations caused by water passing through a worn washer or damaged valve can create ticking, rattling, or fluttering noises. Another clue that your tap may need attention.
4. Visual Wear and Damage on Tap Components: Look for visible corrosion, mineral buildup, or damage on the valve seat. Hard water deposits can create rough surfaces that prevent a proper seal, while hidden leaks may show up as stains, peeling paint, or warping on nearby surfaces. Rust or mineral deposits around the tap indicate it’s time to consider reseating before the problem worsens.
Tools and Materials Needed for Reseating Taps
Reseating a tap requires a few essential tools and materials, most of which you may already have at home. Having the right equipment ensures the job is done efficiently and effectively, giving your tap a long-lasting, leak-free seal.
Essential Tools
The most important tool is a tap reseating tool, designed to smooth the valve seat by grinding away rough spots and corrosion. This creates a flat surface for the washer to form a perfect seal. Tap reseating tools come in manual and drill-powered versions.
Other useful tools include:
· Adjustable wrench or spanner: For loosening and tightening nuts.
· Flathead and Phillips screwdrivers: For removing handles and dismantling components.
· Penetrating oil: Loosens stubborn screws or parts.
· Pliers: Grip and remove worn components easily.
· Soft cloth or rag: Wipes away water and debris.
· Small container: Catches drips and keeps small parts organized.
Replacement Washers, O-Rings, and Seals
After reseating, your tap needs fresh components to work like new:
· Washers: Must match your tap type and size to form a proper seal.
· O-rings: Rubber gaskets that prevent leaks around moving parts. Size 8.5 O-rings fit most tap spindles, and assorted packs offer flexibility.
· Plumber’s tape: Ensures watertight seals on threaded connections.
High-quality parts made from durable rubber can withstand both hot and cold water systems, helping your tap function flawlessly after reseating.
Safety Equipment and Protective Gear
While tap reseating isn’t dangerous, taking simple precautions protects you and your home:
· Protective gloves: Shield hands from sharp edges.
· Safety glasses: Guard against flying debris.
· Towels or drop cloths: Keep surfaces dry and clean.
Step-by-Step Guide to Reseating a Tap
Reseating a tap may sound complicated, but following a clear step-by-step approach makes the process manageable, even for DIY-ers.
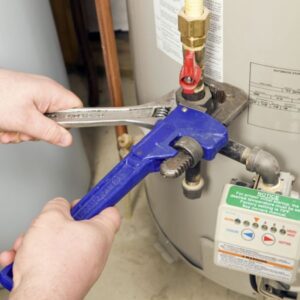
Step 1: Turn Off the Water Supply
Before you start, shut off the water to prevent flooding. Most taps have an isolation valve under the sink. If you can’t find it, use the main water supply valve near your water meter. Open the faulty tap to release any water remaining in the pipes.
Step 2: Remove the Tap Handle and Disassemble Components
Start by taking off the handle. A small screw usually hides beneath a decorative cap. Once the screw is removed, lift the handle off. Use an adjustable wrench to unscrew the tap bonnet, which covers the internal parts, revealing the spindle assembly. Carefully remove these components, noting their order for reassembly later.
Step 3: Inspect Washers, Seals, and Valve Seats
Examine each part closely. The washer at the bottom of the spindle is often the first to fail, look for cracks, hardening, or warping. Inspect the valve seat for corrosion, uneven spots, or pits that prevent a proper seal. Don’t forget to check the O-rings, which may also need replacement.
Step 4: Clean and Smooth the Tap Seat
Insert your tap reseating tool into the tap body. Rotate it clockwise with steady pressure, grinding away rough edges and corrosion until the seat is smooth and even. Wipe away any metal shavings with a cloth. A clean, smooth valve seat is essential for forming a watertight seal with the washer.
Step 5: Reassemble and Test the Tap
Replace any worn washers or O-rings with new ones. Reassemble the tap in reverse order: spindle assembly first, followed by the bonnet, then the handle. Tighten securely, but avoid over-tightening. Turn the water back on and test the tap. A properly reseated tap should stop the leak completely and restore smooth, reliable operation.
Common Mistakes to Avoid When Reseating Taps
Even a simple task like reseating a tap can go wrong if you’re not careful. Avoid these common mistakes to ensure your repair is effective and long-lasting:
1. Over-Tightening Components: Applying too much force when turning taps off may seem harmless, but it puts unnecessary stress on washers, O-rings, and valve seats. Over-tightening can cause parts to wear faster or even break, creating a cycle of recurring leaks. Remember: the water will stop flowing once the tap is fully closed, any extra twisting only damages the internal components.
2. Using Incorrect Replacement Parts: Leaks often persist when washers or O-rings are the wrong size or made from low-quality materials. Standard washers work for most indoor taps, while garden taps typically require a larger size. Cheap or mismatched parts also wear out quickly, and some taps may need specialty items for repair.
3. Ignoring Signs of Corrosion or Severe Damage: Reseating won’t fix every leak. Taps with extensive corrosion, cracked bodies, or severely damaged valves may require full replacement. Hard water can leave mineral deposits that roughen valve seats beyond repair, so it’s important to assess the tap’s condition before attempting a reseat. Ignoring these warning signs can lead to wasted time, effort, and continued leaks.
When to Call a Professional?
While many taps can be reseated successfully at home, there are situations where calling a licensed plumber is the smarter choice. Experienced plumbers ensure that leaks are fixed right the first time, every time.
1. Situations Where DIY Reseating May Not Be Enough: If the valve seat is severely damaged or previous reseating attempts haven’t stopped the leak, it’s time to get professional help. Complex taps with intricate components also require specialised knowledge to avoid causing further damage. Tackling multiple leaking taps at once can also be overwhelming and time-consuming for a DIY approach.
2. Potential Risks of Improper Reseating: Incorrect reseating techniques can lead to ongoing leaks, damaged pipes, or even plumbing emergencies that harm your property. Without the proper tools and expertise, you could inadvertently make the problem worse. Additionally, many home insurance policies only cover work performed by certified professionals, meaning DIY repairs could leave you unprotected.
3. How a Licensed Plumber Can Save Time and Money: A licensed plumber can quickly diagnose the issue and provide a permanent fix, rather than relying on temporary solutions. They carry liability insurance to protect your home, and their work often comes with guarantees, so any problems that arise later are resolved at no extra cost.
Preventative Maintenance to Extend Tap Life
1. Regular Inspection: : Check your taps frequently for signs of wear, rust, or damage. Additionally, regular cleaning helps prevent mineral buildup and keeps performance at its best. Address minor issues, like small leaks or loose handles, immediately as these quick fixes prevent more costly repairs down the line.
2. Using Water Softeners to Reduce Mineral Buildup: Hard water, rich in calcium and magnesium, can speed up tap deterioration. Installing a water softener removes these minerals, protecting both your taps and your home’s plumbing system. Softened water prevents scale from clogging aerators, blocking water flow, and damaging valve seats.
3. Cleaning and Lubricating Tap Components: Avoid harsh chemical cleaners that can corrode tap surfaces and internal parts. Instead, use mild, eco-friendly solutions like a vinegar-and-water mix to dissolve mineral deposits. Lubricate moving parts such as spindles, bonnet threads, and O-rings with a silicone-based lubricant. Proper lubrication keeps components moving smoothly, reduces wear, and helps O-rings last longer.
Keep Your Taps Leak-Free and Long-Lasting
Persistent drips waste water, drive up bills, and shorten the life of your taps. Reseating your tap is a simple, cost-effective solution that tackles leaks at the source. With the right tools and careful attention, many homeowners can fix leaky taps themselves, restoring smooth, reliable operation and saving money in the long run.
After reseating, watch your tap closely for leaks. While DIY repairs work well for many taps, some modern taps often require specialised handling. And if your tap has severe damage or complex components, calling a licensed plumber is the fastest way to get a permanent fix without risking further problems.
At GA PERRY, we specialise in diagnosing and repairing all types of tap leaks quickly and efficiently. Our experienced plumbers ensure that your taps are restored to perfect working order the first time, every time, saving you water, money, and the frustration of persistent drips. Reach out to us today and enjoy leak-free taps with confidence.