There’s nothing worse than a mountain of dirty dishes staring back at you! And that’s where a dishwasher becomes a lifesaver. Whether you’re installing one for the very first time or replacing an old unit that’s seen better days, a DIY install is absolutely doable, as long as you’re prepared and know what to watch out for.
While the process might seem straightforward, there are a few important things to consider, like power point regulations, proper positioning, and protecting your cabinetry from steam damage. These are especially crucial if you’re working with a completely new installation.
In this post, we’ll walk you through everything you need to know about installing a dishwasher before you begin, so you can install your unit confidently, safely, and without any nasty surprises later down the track.
Understanding Your Installation Type
Before you grab your tools and start unpacking your new dishwasher, it’s important to know what kind of installation you’re dealing with. This will inform the steps you take, the tools you need and how complex the install will be.
Replacing an Old Dishwasher
If you’re simply swapping out an old dishwasher for a new one, installation is relatively easy. The plumbing and electrical connections are already in place, so all you’ll need to do is disconnect the old unit and hook up the new one using the existing drain, water inlet, and power source. For many homeowners, this is a straightforward DIY job.
First-Time Installation
Installing a dishwasher for the first time, however, can be more complex. You’ll need to add new plumbing and electrical connections, which can get tricky, especially if your kitchen wasn’t designed with a dishwasher in mind. This type of installation often requires a licensed plumber and electrician to make sure everything’s safe, compliant, and up to code.
Why Your Setup Matters
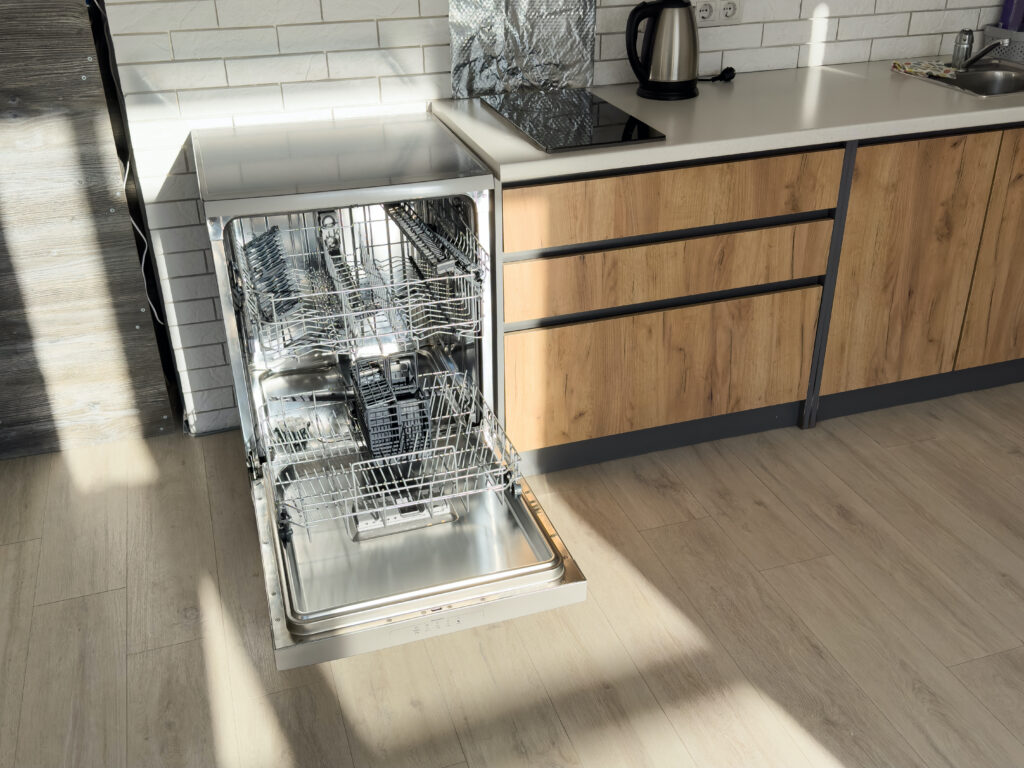
Your kitchen layout plays a big role in how complex the installation will be. The ideal spot for a dishwasher is right next to the sink. This makes plumbing easier, keeps your workflow efficient, and ensures your dishwasher can drain properly. A professional installer usually takes two to three hours for a standard install, but if your kitchen needs new power outlets, drainage lines, or cabinetry changes, allow some extra time (and budget) for those adjustments.
It’s also important to think about usability. Make sure your dishwasher’s door won’t block walkways or bump into cabinets when open. A poor location can make daily use a hassle.
Do You Have the Space?
Before you buy, take careful measurements of your available space. Standard dishwashers are around 600mm (24 inches) wide, 600mm deep, and 850mm high. Compact models can be a smart solution for smaller kitchens or apartments. And don’t forget to allow clearance in front so you can comfortably load and unload dishes.
Plumbing and Power
Your dishwasher needs three key connections: a water inlet, a drain line, and a power source. Most models connect via a standard power cord or a hardwired cable. According to building codes, all connections should be located in the cabinet beside the dishwasher, not directly behind it, to reduce risks from any water leaks.
If you’re modifying your kitchen to include a dishwasher for the first time, you may need to remove part of a cabinet and seal the underside of your benchtop to protect it from steam and moisture.
Pre-Installation Preparation
Preparation goes a long way when it comes to dishwasher installation. Having the right tools, materials, and know-how on hand will make the process smoother, faster, and far less stressful. Here’s everything you need to get started:
Essential Tools and Materials
Having everything ready from the outset helps minimise delays and ensures a more professional result.
Tools:
- Adjustable wrench and pliers
- Phillips and flathead screwdrivers
- Cordless drill with appropriate bits
- Spirit level
- Measuring tape
- Bucket or shallow tray (to catch residual water)
- Protective towel or cardboard (to prevent floor damage)
- Flashlight (for visibility in tight spaces)
Materials:
- Dishwasher installation kit (typically includes water hose, fittings, and power cord)
- Teflon tape (for sealing threaded connections)
- Pipe joint compound
- Wire connectors or twist-on wire nuts
Dishwasher Connection Requirements
Your dishwasher will require three key connections to function correctly:
- Power supply (either hardwired or via a power cord)
- Hot water supply line
- Drain hose
The water supply typically connects via a braided tube to the unit’s water inlet valve, using a 90-degree fitting.
Keep in mind: building codes require that water lines be installed in an adjacent cabinet, not directly inside the dishwasher’s cabinet space. This reduces the risk of water damage and electrical hazards.
Shutting Off Power and Water Supply
Safety first! Before you start disconnecting anything, turn off the electricity at your home’s circuit breaker. This step protects you from electrical shocks while working on your dishwasher.
Next, shut off the water supply valve located under your sink. If you can’t find a dedicated valve, you may need to turn off your home’s main water supply to prevent leaks while installing.
Read the Manufacturer’s Instructions
While the general steps are the same, some dishwashers have unique installation requirements, connection types, or space clearances. The manual will guide you through the specifics, like water pressure limits, electrical ratings, and how to properly route the drain hose. Following these instructions closely ensures your dishwasher runs efficiently, stays within warranty, and avoids preventable issues down the track. It’s a few minutes well spent that can save you hours of hassle later.
Removing the Old Dishwasher (If Applicable)
If you’re replacing an existing dishwasher, the process is usually simpler than a new install, but it still requires care and a few key steps to ensure safety and avoid damage. Start by turning off the power and water supply under the sink. Then, disconnect the water supply line, drain hose, and power connection.
Once everything’s detached, remove the screws securing the dishwasher to the underside of the benchtop (if applicable), lower the adjustable legs, and carefully slide the unit out. Place a towel or cardboard on the floor to protect your surfaces from water and scratches.
Tip: Don’t forget to inspect the cabinet space for any signs of water damage or issues that could affect your new dishwasher’s fit or function.
Installing the New Dishwasher: A Step-by-Step Guide
Installing a new dishwasher isn’t as complicated as it sounds, especially if you take it step by step. Here’s how to get everything set up safely and properly.
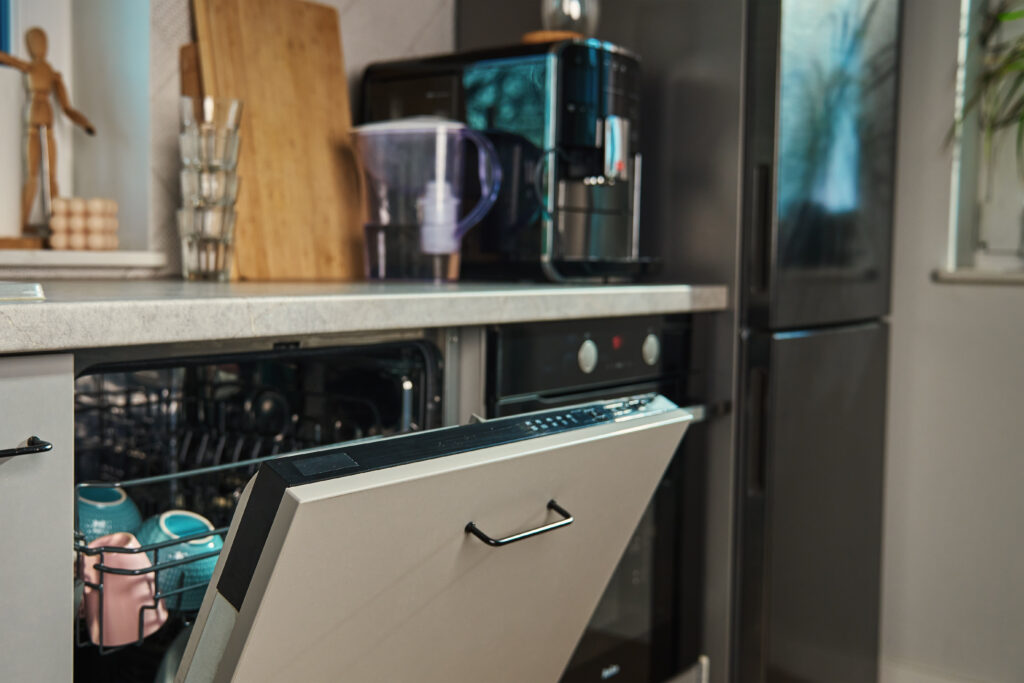
1. Positioning the Unit and Levelling
First things first: measure your cabinet opening carefully to ensure that your dishwasher fits. Make sure the space is clean and free of debris. Slide the dishwasher into place, leaving enough space from the back wall for connections.
Getting your dishwasher perfectly level is also key for smooth operation as it prevents leaks and reduces noise. Use a level across the front and sides and adjust the front legs as needed by turning them. Most models raise by turning the legs counterclockwise and lower by turning clockwise. Some allow rear leg adjustments from the front, which can be easier. Keep tweaking until your dishwasher is level side-to-side and front-to-back.
2. Connecting the Water Supply Line
The water supply line connects your dishwasher to the hot water source, usually through a braided steel hose with a 90-degree fitting. You’ll generally have two fitting types: compression fittings, which are more budget-friendly but need tools for installation, and push-to-connect fittings, which install faster but cost more and require special tools to remove. Use Teflon tape or pipe joint compound on threaded connections to prevent leaks, but be careful not to overtighten as this damage fittings and may cause leaks!
Connecting the Drain Hose (And What to Avoid)
The drain hose is what disposes of the dirt water after each wash cycle and is one of the most essential steps in the installation process. To prevent water from flowing backward, create a high loop in the hose to prevent backflow into the dishwasher. Never connect the dishwasher drain hose after the P-trap, as this can allow sewer gases into your kitchen. Secure all hose connections with clamps, and check that the hose isn’t kinked or blocked to ensure proper drainage.
Connecting to Power
Depending on your model, you’ll either hardwire it or use a plug-in outlet. Hardwiring means connecting the dishwasher’s wires to the corresponding house wiring, while plug-in models simply plug into a power outlet. Hardwiring gives a cleaner look but makes future repairs a bit trickier since you’ll need to switch off the breaker each time. Plug-in setups make maintenance easier but require a conveniently placed outlet.
Testing the Installation
Once everything is connected, it’s time to test your work! Turn the power back on at the breaker and open the water valve. Run a test wash cycle before attaching the kickplate or finishing touches – how this is done will be outlined in the user manual of your specific dishwasher model. While it runs, watch closely for leaks around the water and drain connections, listen for unusual noises, and ensure water drains smoothly. Catching problems now can save headaches later.
Troubleshooting Common Issues
If your dishwasher won’t start, make sure the door is fully closed and the control lock (if your model has one) is off (you can usually disable it by holding the lock button for a few seconds). Also, check that your circuit breaker hasn’t tripped. Leaks often come from damaged water lines, an uneven dishwasher, or worn door gaskets and latches. For drainage problems, a clogged filter or kinked drain hose is usually the culprit.
If issues persist, don’t hesitate to call in the professionals. At GA PERRY we offer expert plumbing and electrical support, competitive pricing, and same-day, on-time service for all your dishwasher needs. So, if your DIY installation hasn’t gone quite to plan, or you would rather leave it to the experts, we’ve got you covered!

When To Call A Licensed Plumber Or Electrician
DIY dishwasher installation might seem tempting, but some situations are best left to the professionals. If your dishwasher needs to be repositioned, installing a dishwasher for the first time, or your kitchen has a non-standard layout, it’s time to call in the experts. These jobs often involve complex plumbing and electrical work that goes beyond typical homeowner skills.
Older kitchens can be especially tricky. They often don’t have easy access to plumbing or electrical connections, making the work more complicated. A licensed plumber will ensure your water supply and drainage are connected properly and safely, while a licensed electrician will manage the power supply to meet all safety regulations.
Here’s what a qualified installer typically does:
- Conduct a thorough check of your installation area
- Confirm that your new dishwasher fits perfectly in the space
- Connect plumbing and electrical components according to safety standards and building codes
- Install pressure-limiting valves if necessary to protect your water supply
- Test the dishwasher to ensure everything is working properly
- Leave your kitchen clean and tidy, ready for use
At GA PERRY, we are plumbers and electrical experts dedicated to making your dishwasher installation hassle-free and safe. With expertise in both plumbing and electrical work, we have the skills, tools and expertise to ensure every connection is secure, up to code, and built to last. We handle everything from complex new installations to simple replacements.
Key Takeaways
Installing a dishwasher can be a rewarding DIY project when you’re prepared and understand the steps involved. Whether you’re replacing an old unit or installing a dishwasher for the first time, taking the time to measure carefully, follow the manufacturer’s instructions, and ensure everything is correctly connected will help ensure your dishwasher runs smoothly for years to come.
Remember, some installations, especially those involving new plumbing or electrical work, are best handled by licensed professionals to keep your home safe and your warranty intact. So, if you’re ever in doubt or want peace of mind, don’t hesitate to call the experts at GA PERRY!